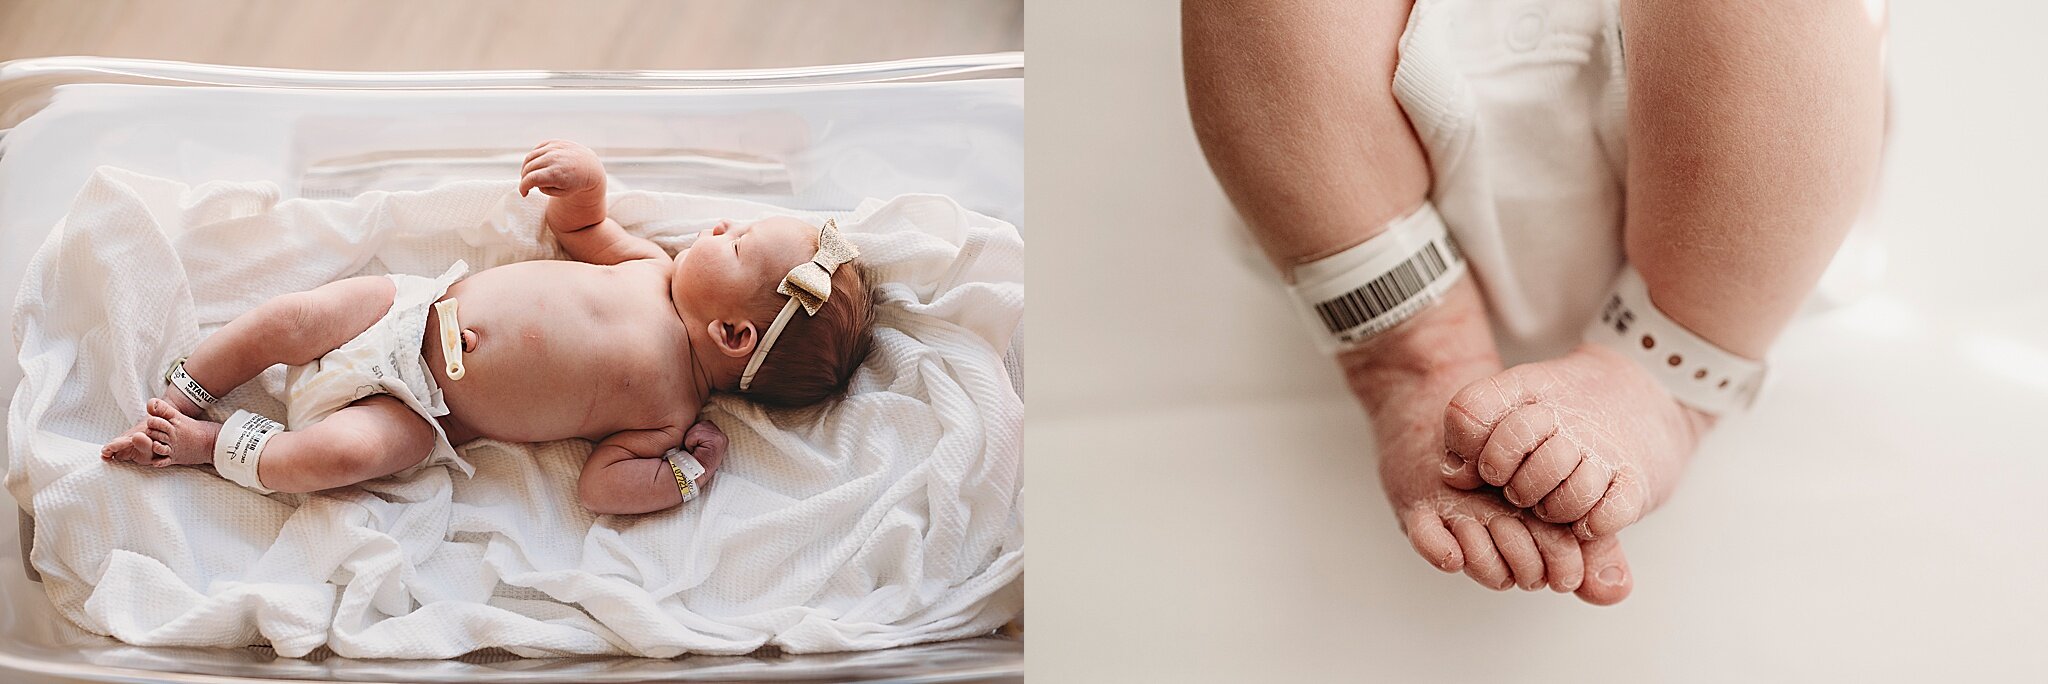
With COVID-19 wreaking havoc on the entire globe, we’re all left to scramble to find some sort of normal in our new reality. Sound familiar? So many plans have come crumbling down and forced us to think on our toes and be resourceful, myself included. Weddings are postponed, school children are out of school for the foreseeable future and are learning to learn online, businesses have closed their doors while finding ways to continue their business in ways other than in person, and most notably, birth plans have been reduced to a glimmer of hope.
Maybe you find yourself upset that a photographer can no longer come to your hospital room and photograph the first few days of your sweet babe’s life, let alone friends and family. Trust me, I’m disappointed too. Photographing a brand spanking new baby is the light of my week every week — but new restrictions are what they are. So I’m here to offer you some insight into photographing your own brand new baby so you can have a little bit of normal during the abnormal. Relax, Momma. This too shall pass — but while we wait, I’m here to make the waiting just a little bit less unpleasant.
THE CAMERA:
Honestly, you can get some pretty dope images with your phone and I’m here to help you get the most out of it. The mobile Lightroom app is free and there are a ton of bomb mobile presets you can use to get a great edited look. I even offer them too!
If you have an actual camera, be sure to shut off the flash (you’ll want only natural light!) and you’ll be good to go. If you are a client of mine, I’m more than happy to help edit them for you so you get the very best result, but if you follow these instructions, you’ll have some great images with or without editing!
THE ROOM:
Start by decluttering your hospital room. It can get a bit crazy in those first couple hours and your personal belongings have a tendency to fly around the room in an unorganized fashion. It’s cool, your whole life will feel this way for a while, but for the sake of your Fresh48 images, shove your stuff into your bags and clear out the clutter. Make the bed, move the tray table, and take all the extras out of the hospital bassinet.
If you have plain or lightly patterned blankets (My fave blankets for Fresh48 sessions are Aden + Anais bamboo swaddles. You can get them plain with no pattern or they offer a TON of adorable options for prints! You can find them at Target, Kohl’s, Amazon — all available online — or directly from Aden + Anais), put them in the bassinet or, if the hospital has plain bedding on the little mattress, feel free to leave the hospital linens on. Also, if you have the ability to, crank the heat up so it’s warm in the room. Baby’s just came from a super warm environment, so they tend to get cranky if they get too cold.
THE LIGHT:
Clear out the area near the window and turn off ALL of the hospital room lights. Natural light has a different color than artificial light, so if you leave the lights of the room on, one side of your baby will be yellow and the other will be blue. You want one source of light, preferably natural light from the window. If you can, photograph baby when there is no direct sunlight coming through the windows during the day. Always keep the light source (in your case, the window) parallel to baby’s side (along the long side of the bassinet and their body) or from the top of their head (so roll the bassinet toward the light with their head at the window and their toes toward the room). Keep in mind that their head should always point toward the light instead of into the room or their face will be in the shadows.
THE BABY:
Be sure to feed baby about 30 minutes before you plan to start. This way, baby will be full and sleepy by the time you want to start. I like to photograph the baby first swaddled (Pro tip: Be sure to ask your nurse for help if you can’t get the swaddle right and tight. They’re pro-swaddlers!), then in a plain onesie, and then just in their diaper if they will let you. Babies will let you know if they’re not having it, especially if they’re cold.
LETS GET STARTED:
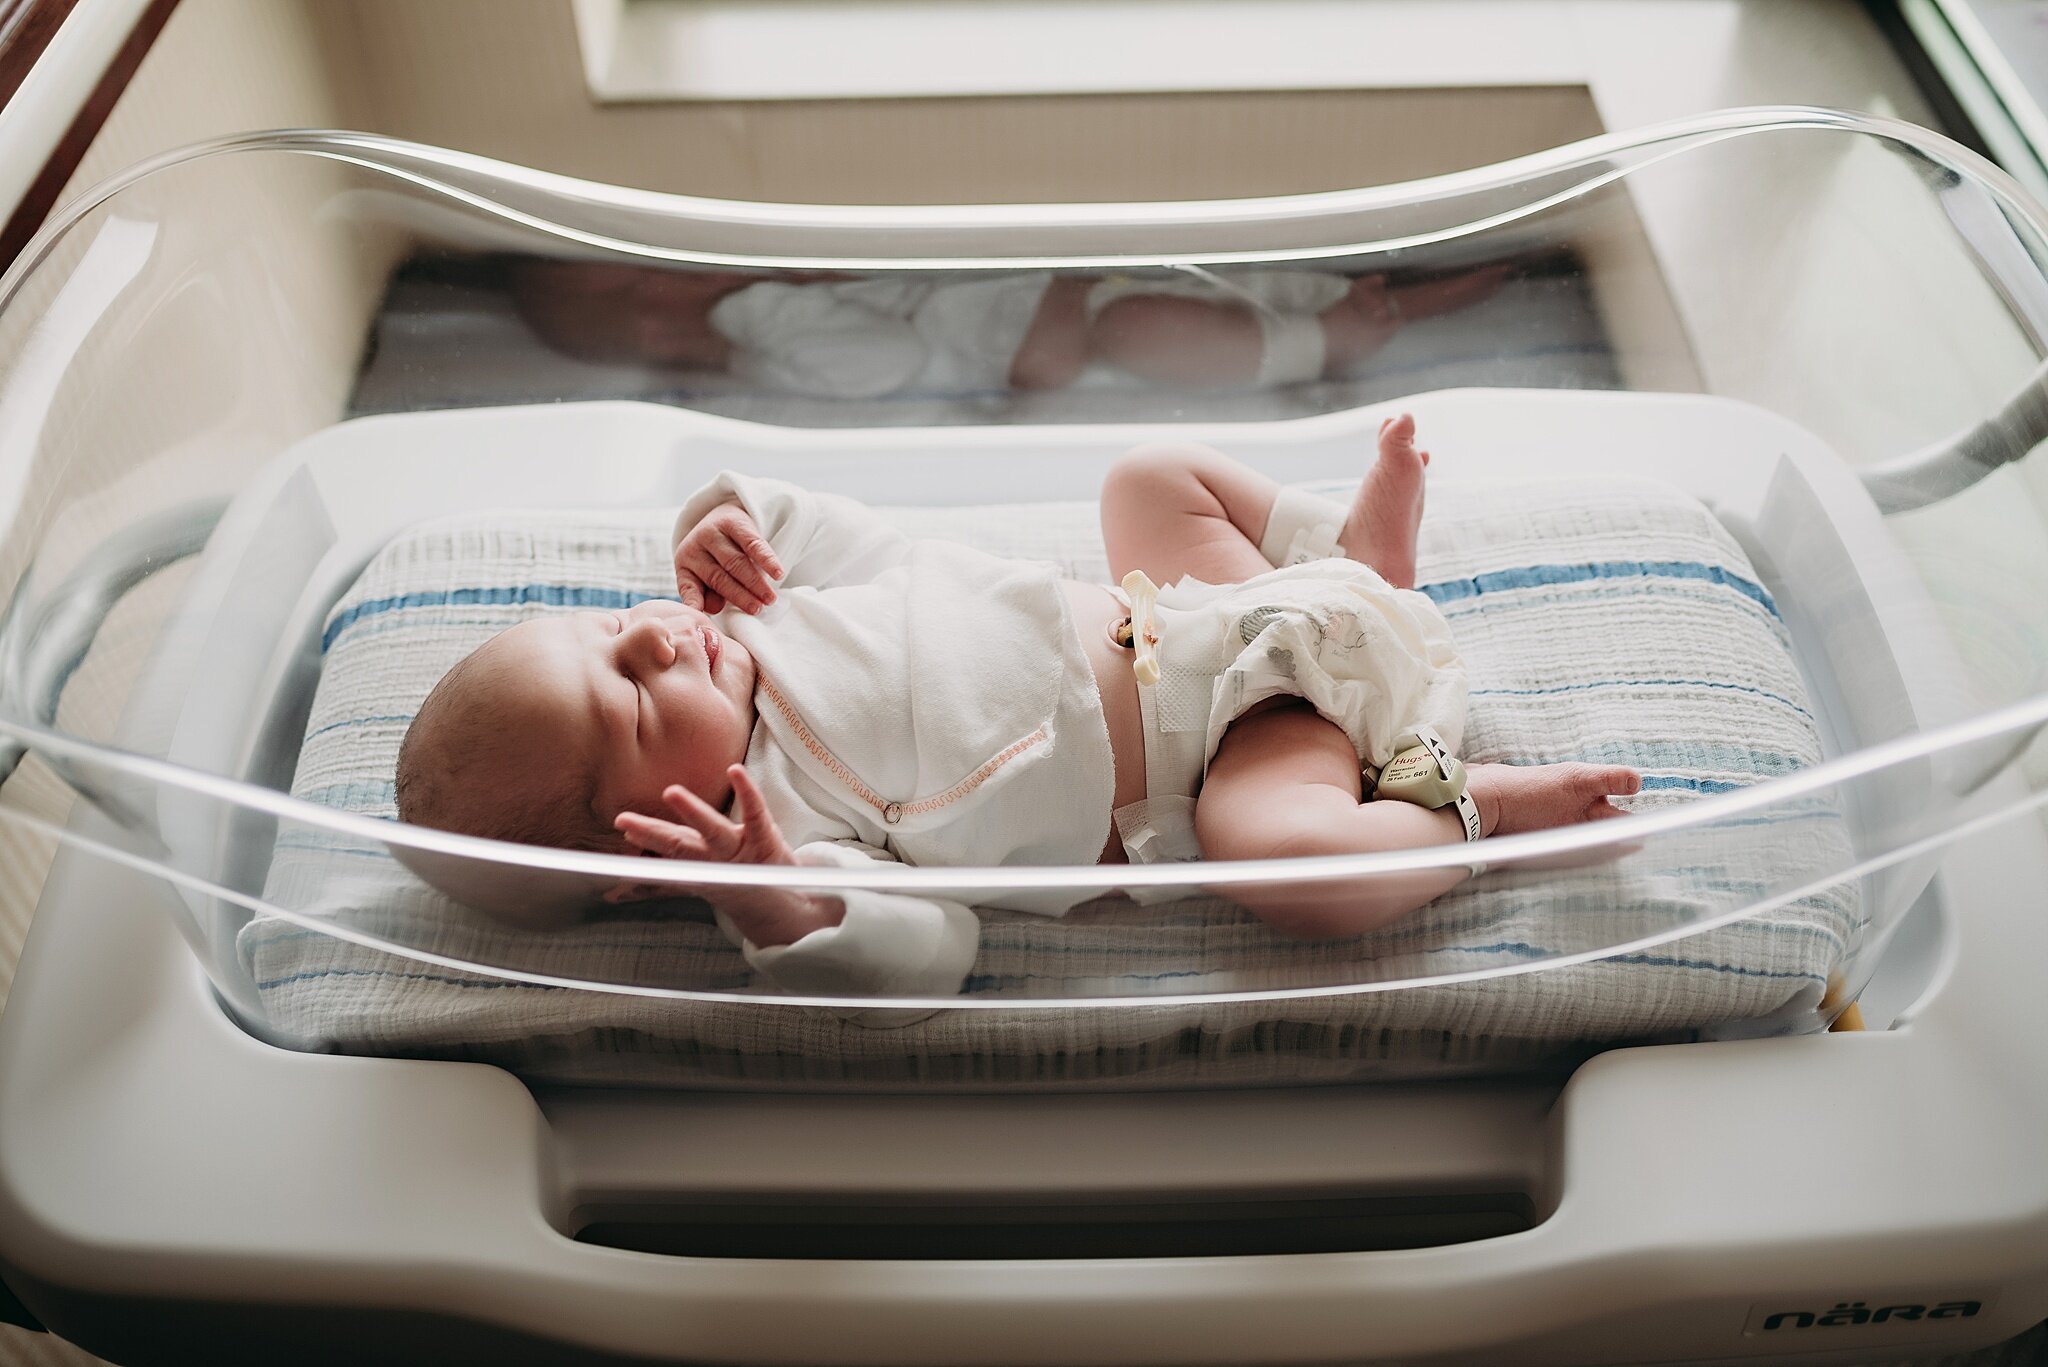
To start, but the baby’s bassinet near the window. You’ll want baby’s face facing the light and when you take their picture, shoot from their head down or from directly overhead. Try not to photograph from their toes up, as you’ll look up their nose. Like in the image below, I have the bassinet parallel to the window so the light is all down one side of the baby and I photograph from the side, not from their toes looking up into their nose.
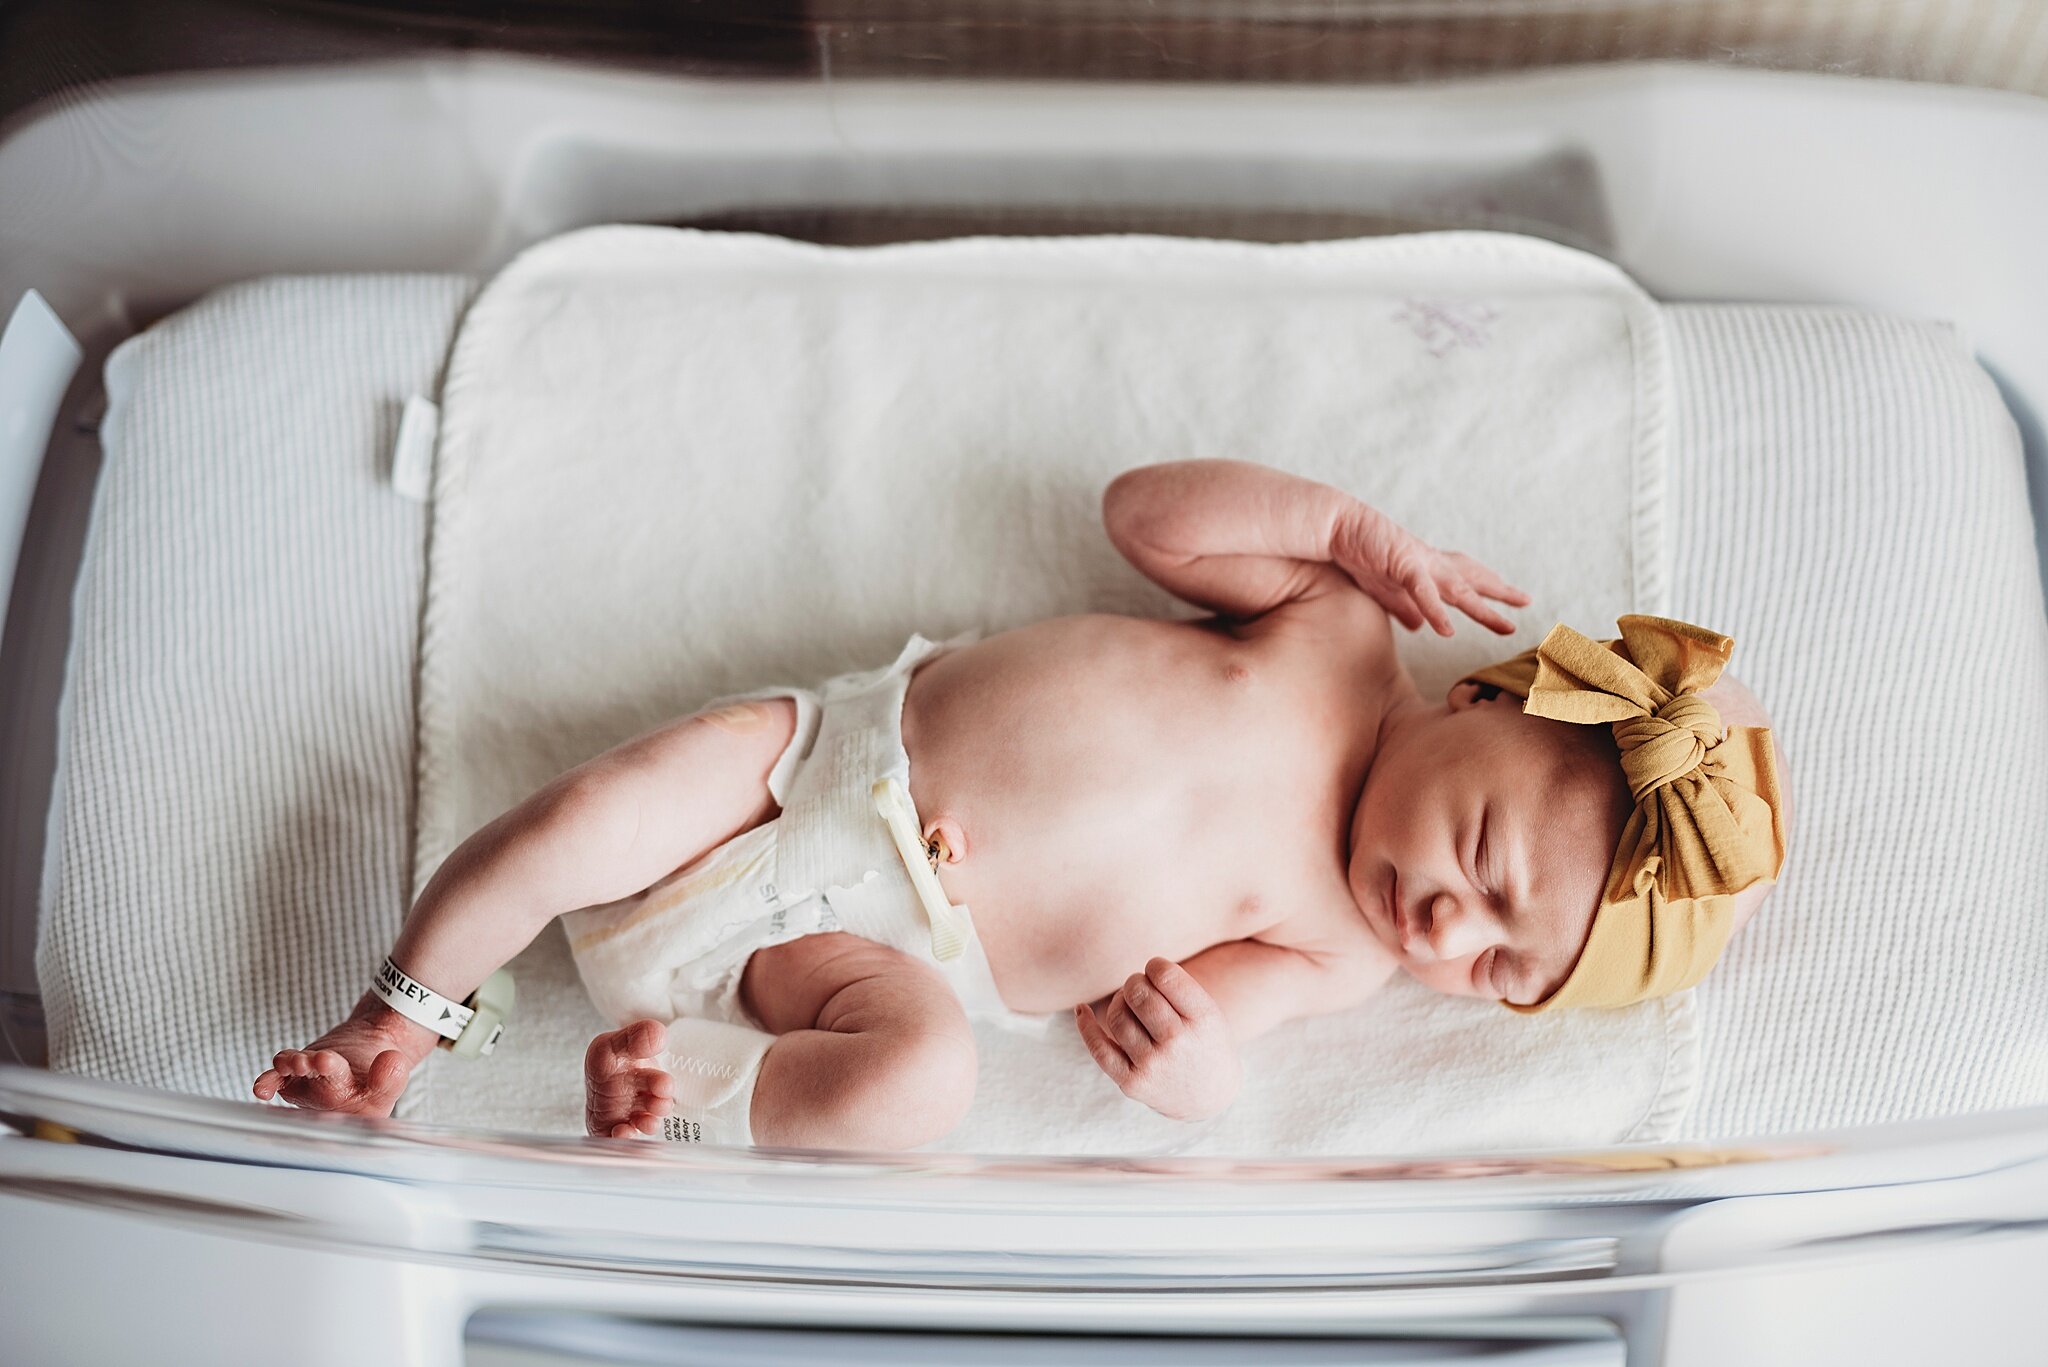
In this image above, I’m above baby so I can see his whole face inside the bassinet, but I am still coming in at an angle. You can also shoot from directly above baby so you can get their whole body straight down like the image below. Play around with angles and directions from which you shoot your images — you’ll figure out what you like best.
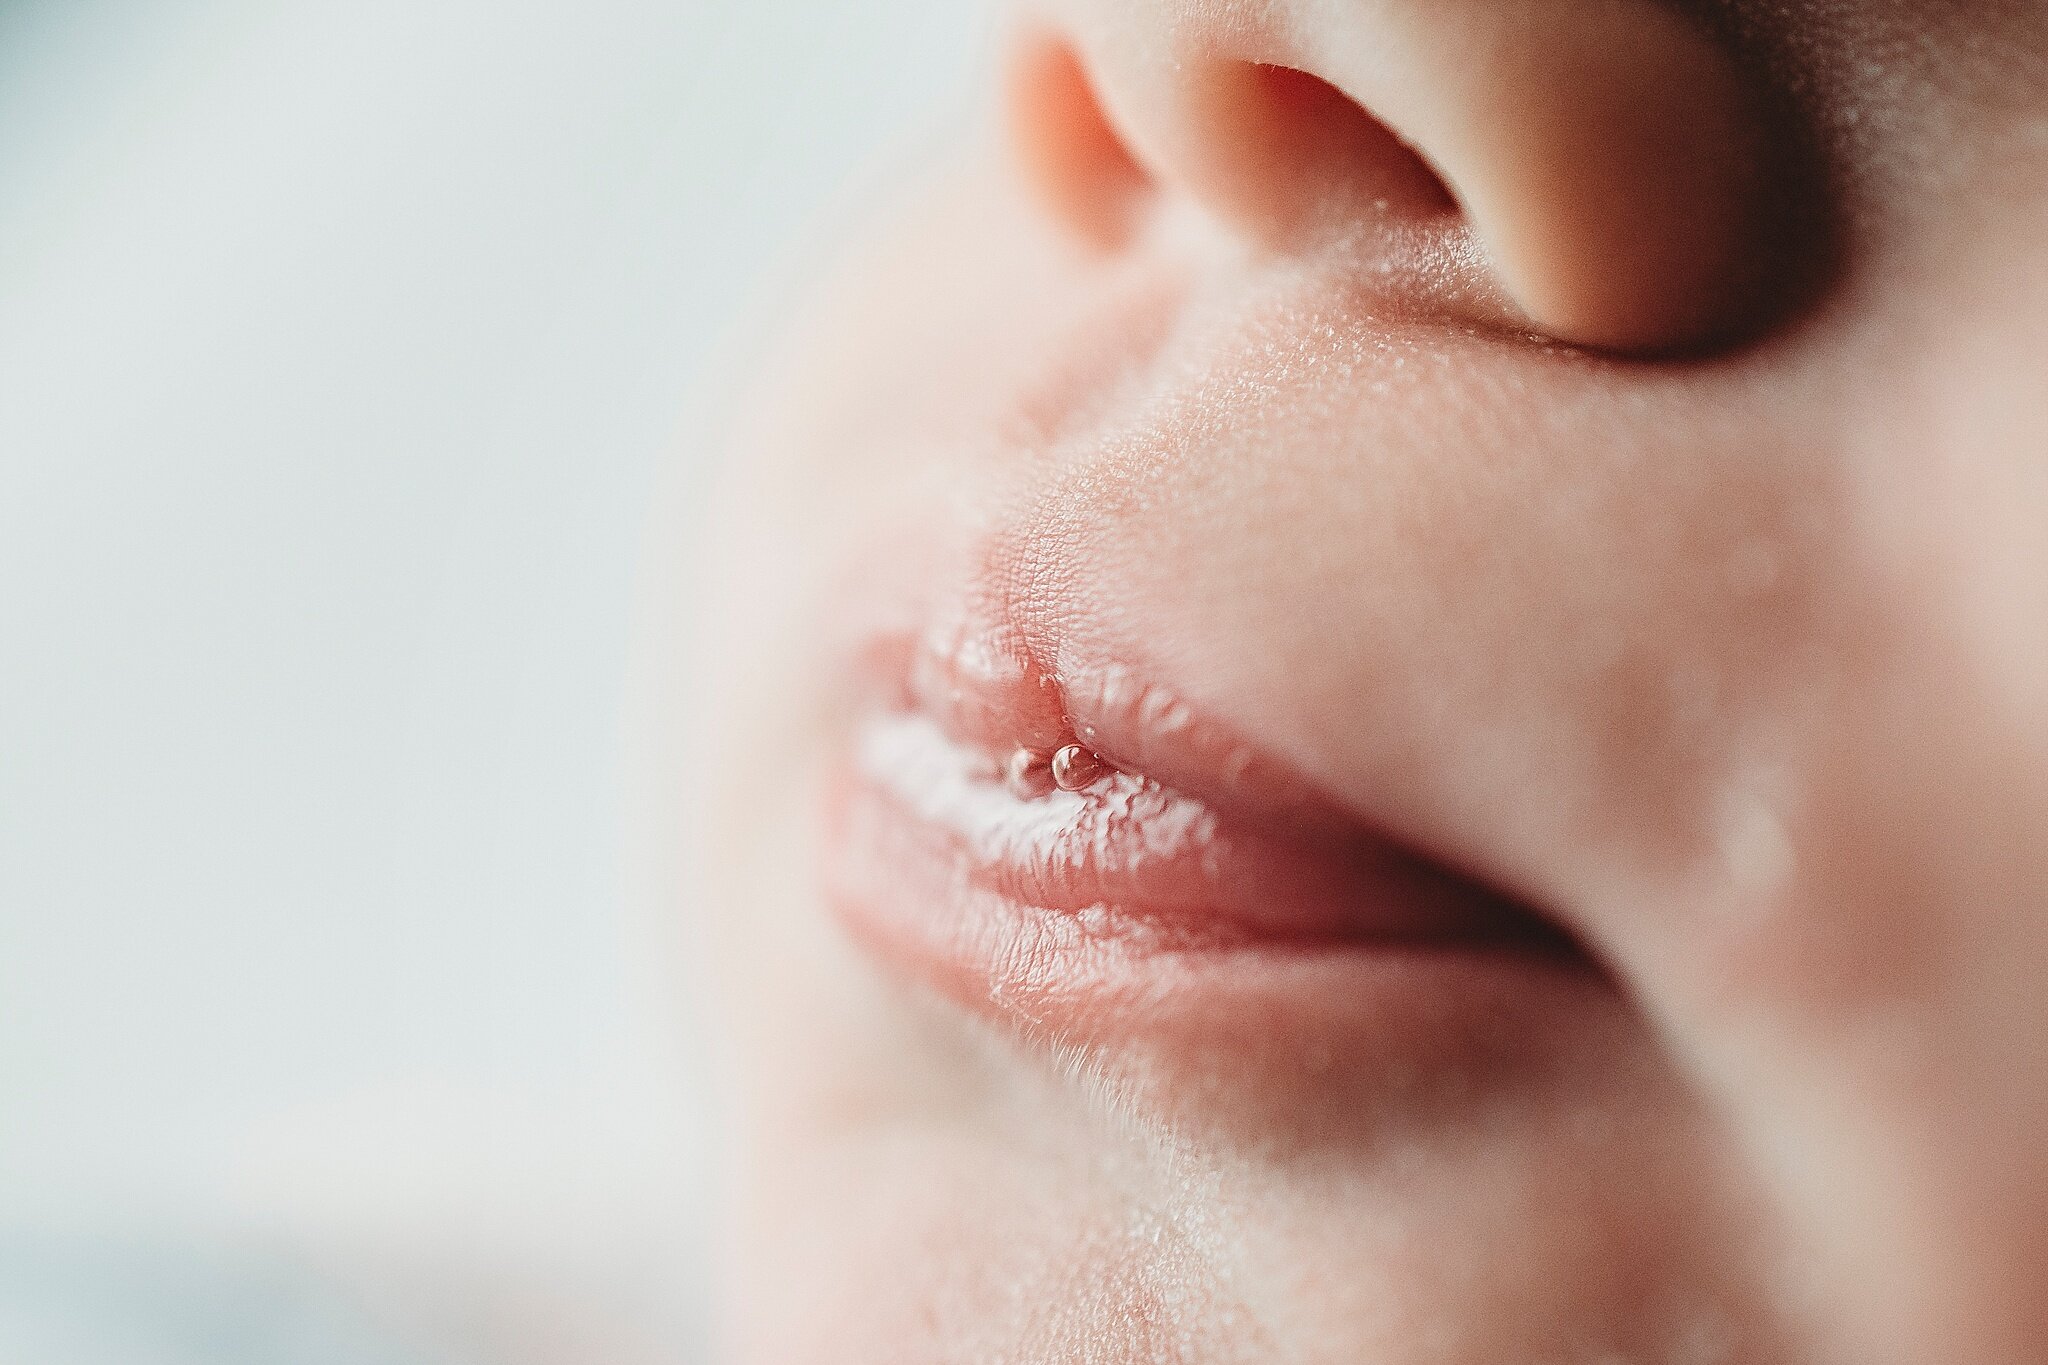
With each way you move the bassinet or the baby, be sure to move around slightly and get a bunch of different shots from different angles. You’ll be able to see the ones that you like best when you look through them later. Don’t forget to get close up shots of toes, fingers, lips, and all the little details of your brand new babe.
THE PHOTOS:
You did it!! I know it’s a hard left from what you thought that this whole birth process would be, but you’ve pivoted and made the best of it. If you’re a client of mine, shoot me an email and I’ll let you know how to get your images to me and I can edit them for you. If you’re set to edit on your own, I highly recommend the Lightroom Mobile app (bonus IT’S FREE) and there are a TON of presets you can purchase to give you a professionally edited look.
We’re all in uncharted waters here — but we’re all in this together. This whole crap sandwich is, fortunately, temporary and will soon be just a memory. And bonus: you’ll have the images to go with the memories.


COMMENTS